Recently, I feel like I’ve been placed in a time machine and sent back to my days at SUNY New Paltz where I was a young, hopeful artist studying metalsmithing. I was, and admittedly still am, in love with pattern. I’ve always had a serious love affair with my saw frame that I’ve owned since 2004. This is the longest relationship I’ve ever been able to maintain. Even though it is unrequited love, I don’t care, so be it. I’ve always loved piercing out complicated designs of wallpaper from the victorian era all they way to patterns featured on Origami paper. I feel like I’ve been returning to this method almost systematically, every time I find myself with a custom request from a potential client.
The first project of many to be featured over the next few months really ignited my passion for pattern and piercing. I was commissioned for a pair of earrings in September that would be gifted to my husband’s Aunt from her guy. I had total free reign on design, with just a few guidelines which included: Sterling Silver and Sapphires.
I quickly day dream metalsmithed, which I do frequently. It involves me watching myself in time lapse video designing and making a project to completion. My poor husband will be having a conversation with me and I go into day dream maker mode. He’ll see me glaze over and stare off into the distance, while quietly whispering to myself. Yes it’s weird, but these are quirks you come across when you’re involved with a creative person.
I thought I’d outline a little bit of my design and creative steps for this project so you all can get an idea how I go about with the custom design process from start to completion.
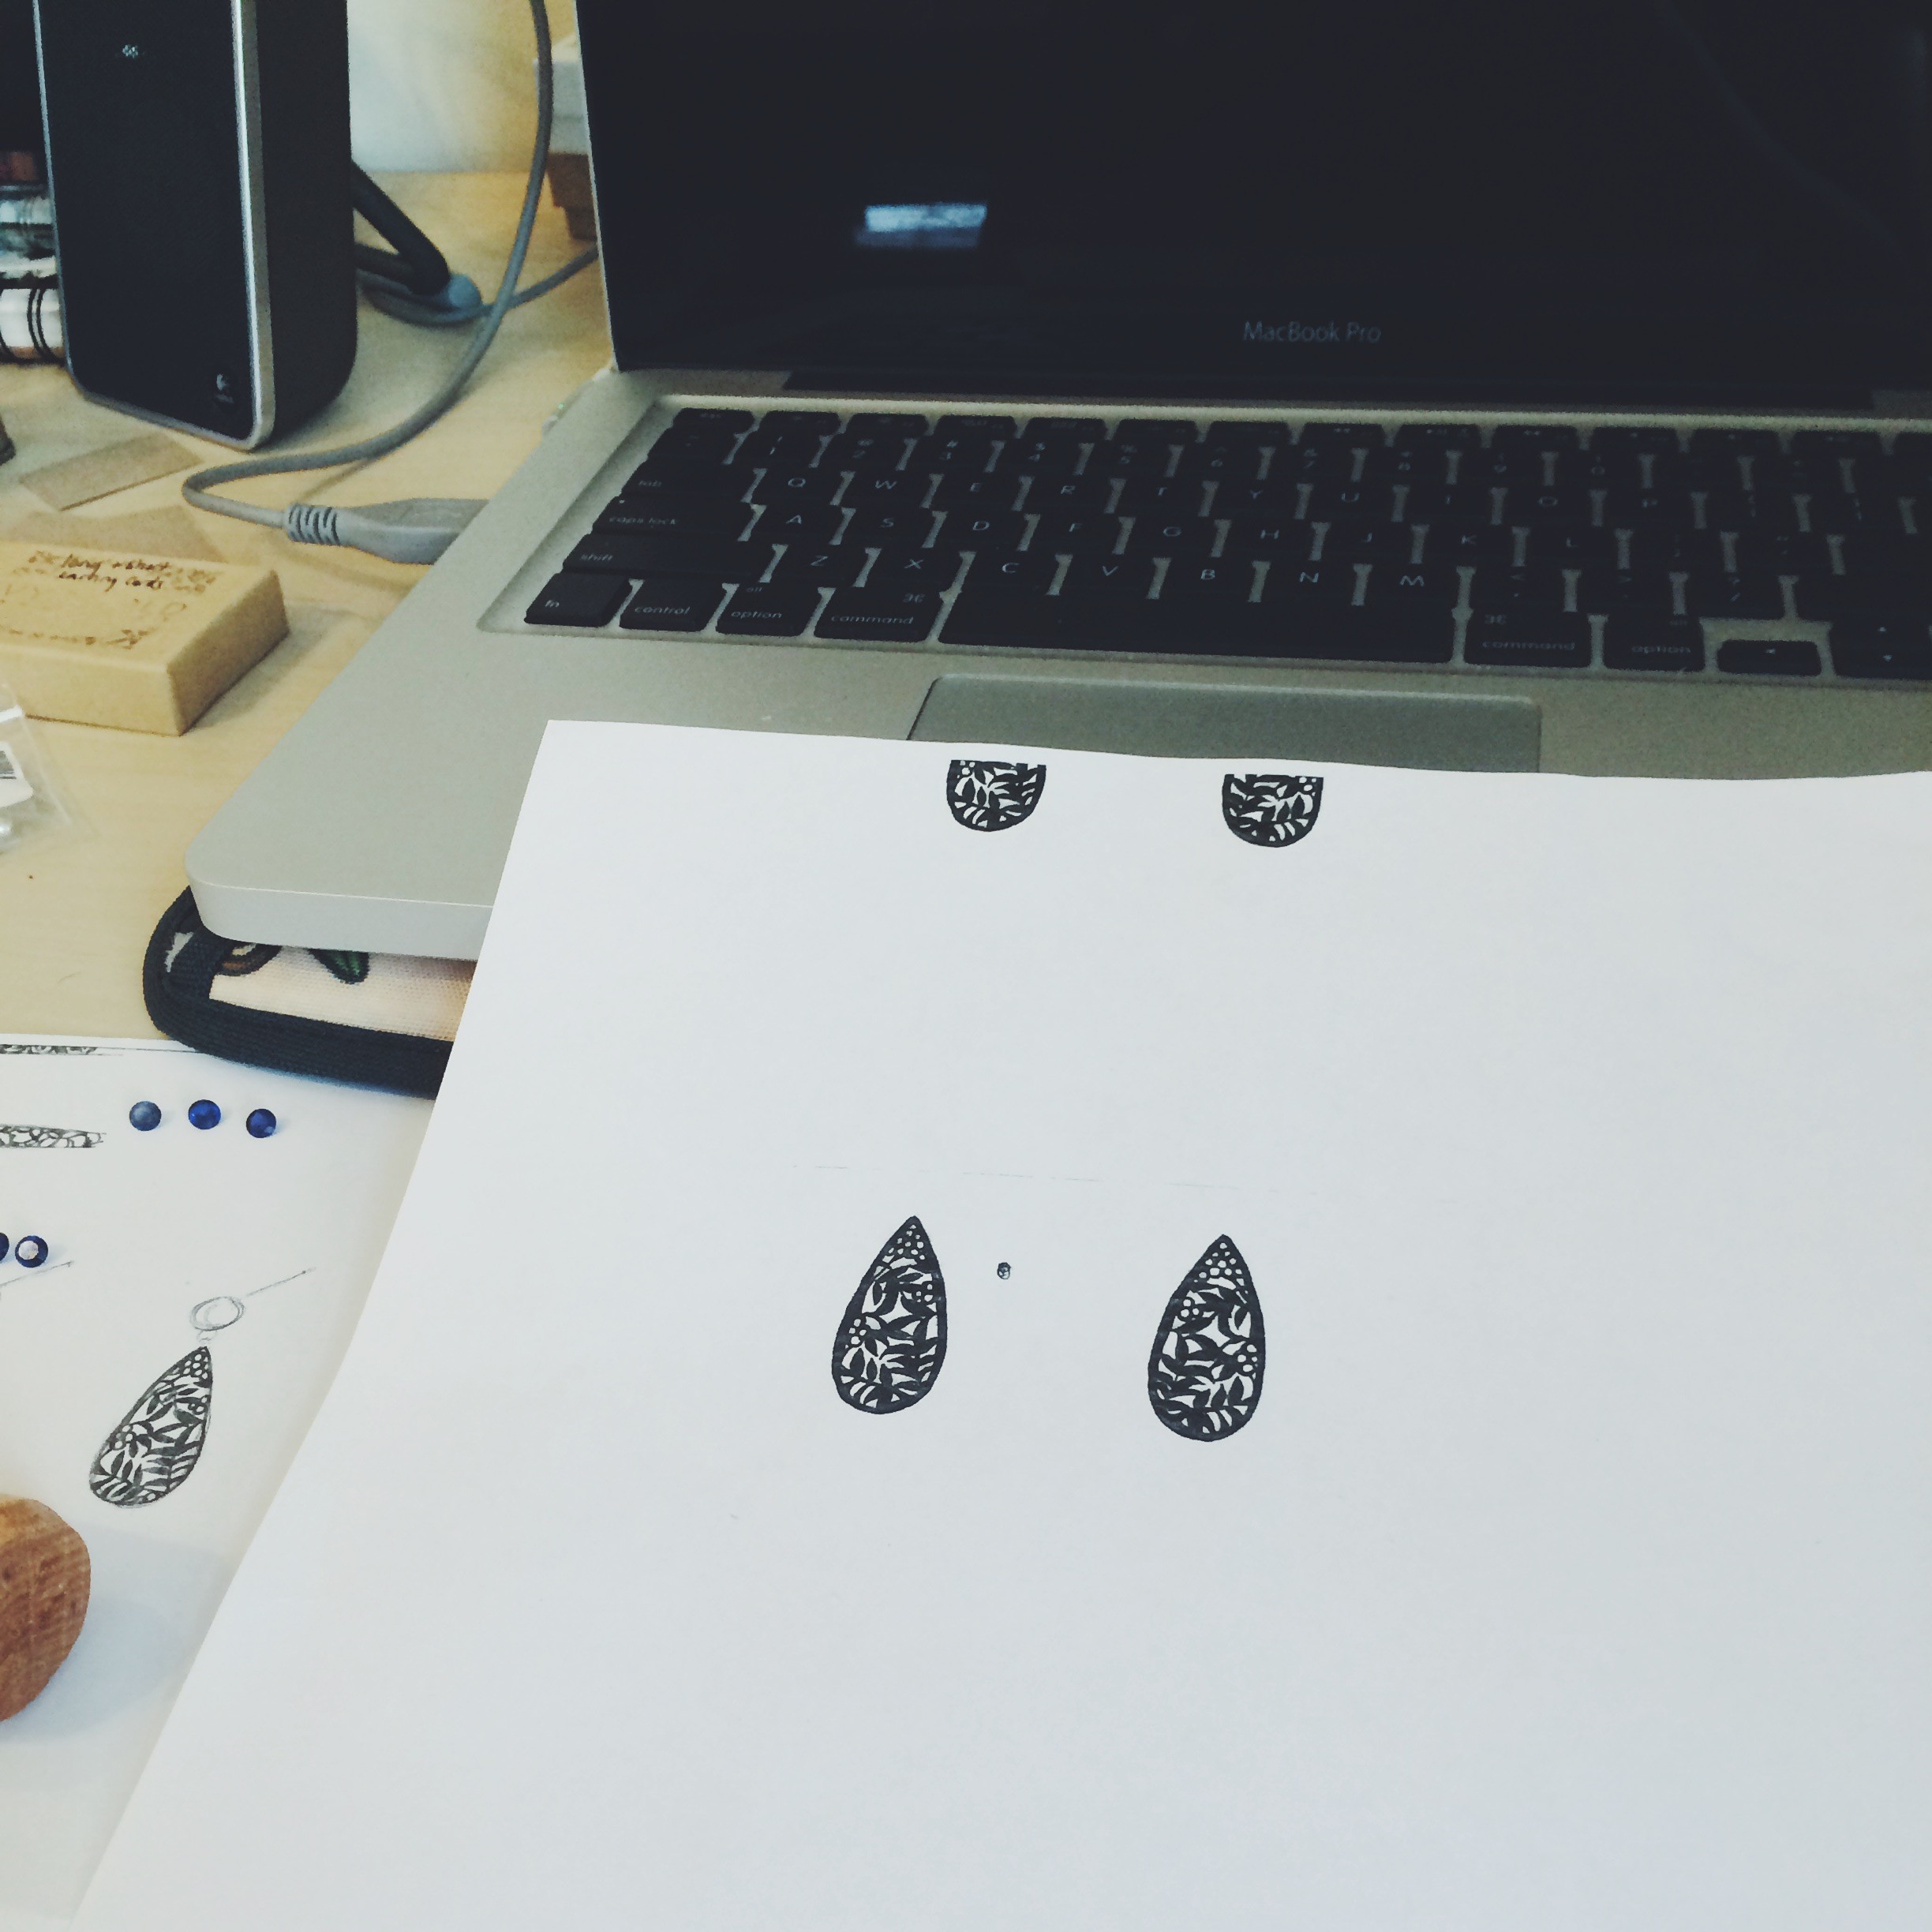
Once I get an idea of what a customer is looking for, I sketch up some potential designs, giving some options along with pricing. Pricing on custom work is determined by materials, time, and complexity. I generally work with people through e-mail or over the telephone. I love when customers like to be involved with the design process by giving me reference materials such as pattern, architecture, historical or personal stories. It gives me inspiration to create something so truly unique for an individual. These are my sketches that I sent to my customer, Connie, for this specific project. I was inspired by Japanese design and origami paper for this specific project.
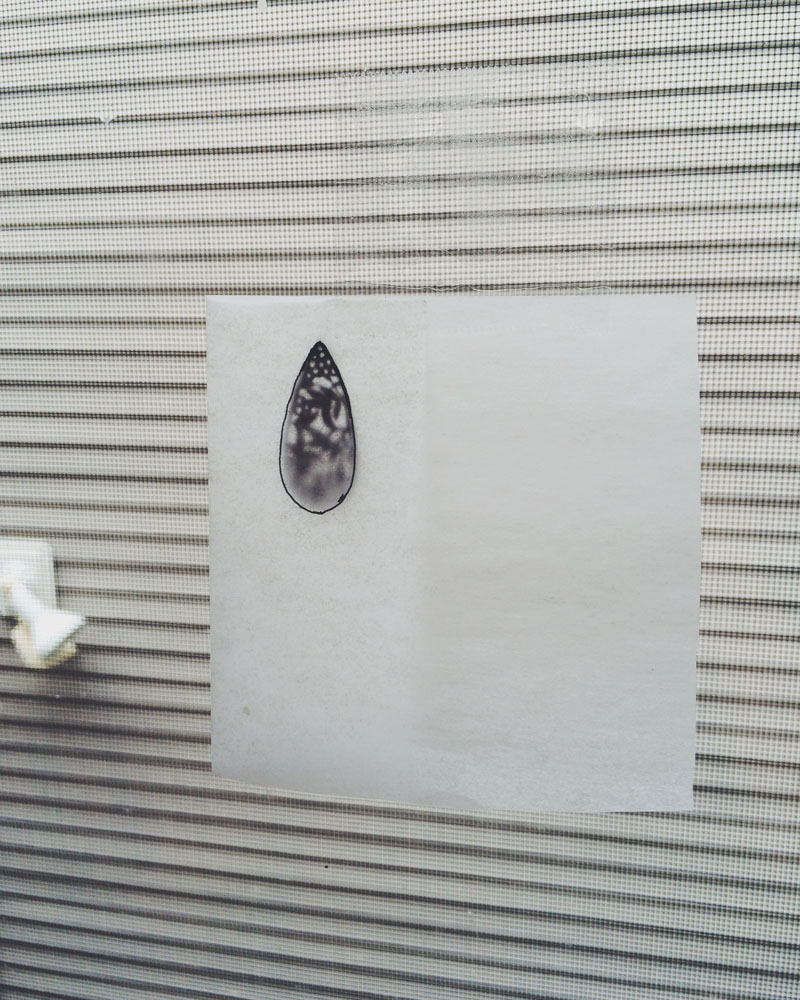
After a design was chosen I used my handy makeshift light table (my studio window and some tape) to trace a mirror image of the design for a left and right earring.
after I trace out the mirror image I photo copy an image of both sketches to make a template for the earrings.

I then take both the the paper templates and use rubber cement to glue the templates to sterling silver sheet. I used 20ga sheet for this project which worked out perfectly fine, however I think in the future I would would use 18ga. I get asked by other jewelry makers often on what type of glue I use to affix my piercing templates. I use best test brand rubber cement. I find that it is literally THE BEST rubber cement, it totally lives up to the name.
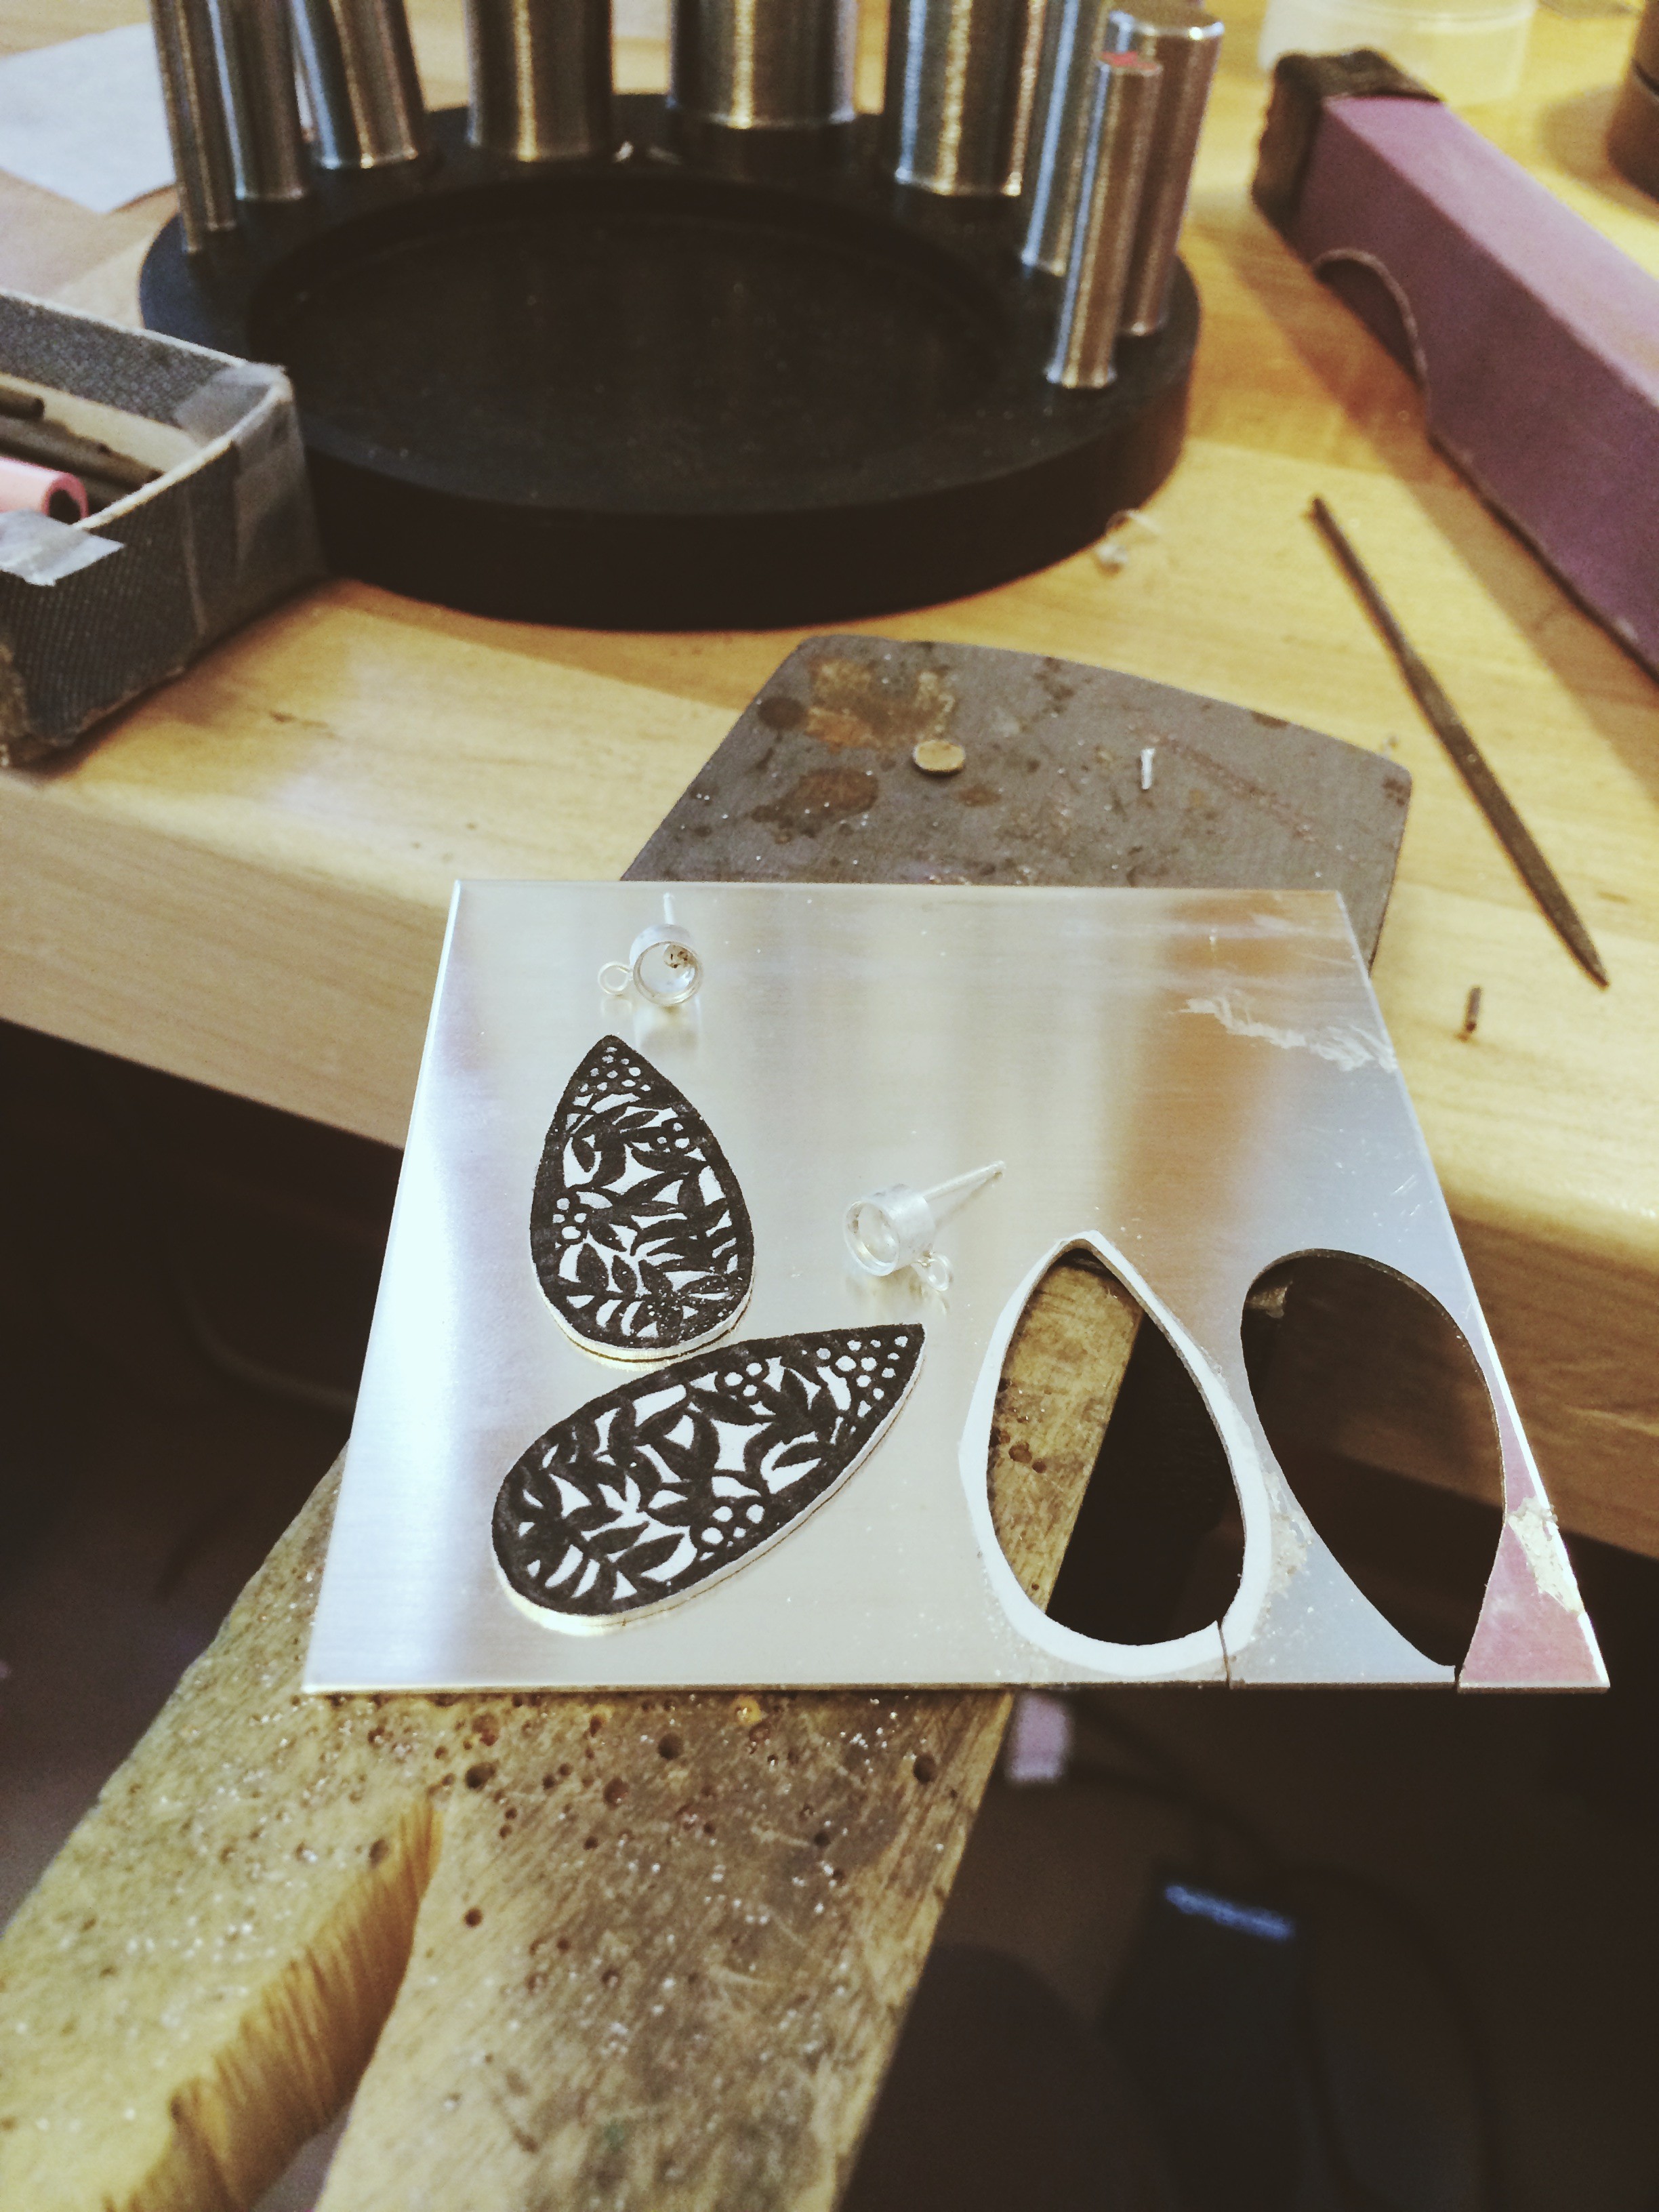
I then cut out the perimeter of the shape and get ready to drill some holes. All of the white space will be the negative space of the earrings that I cut out, so I end up drilling a bunch of tiny little holes to thread my tiny saw blades through (8/0 for you jeweler nerds like me out there!). I’m sorry I don’t currently have an action photo of the piercing process, I find that cats aren’t very good photographers and prefer to be the ones photographed.
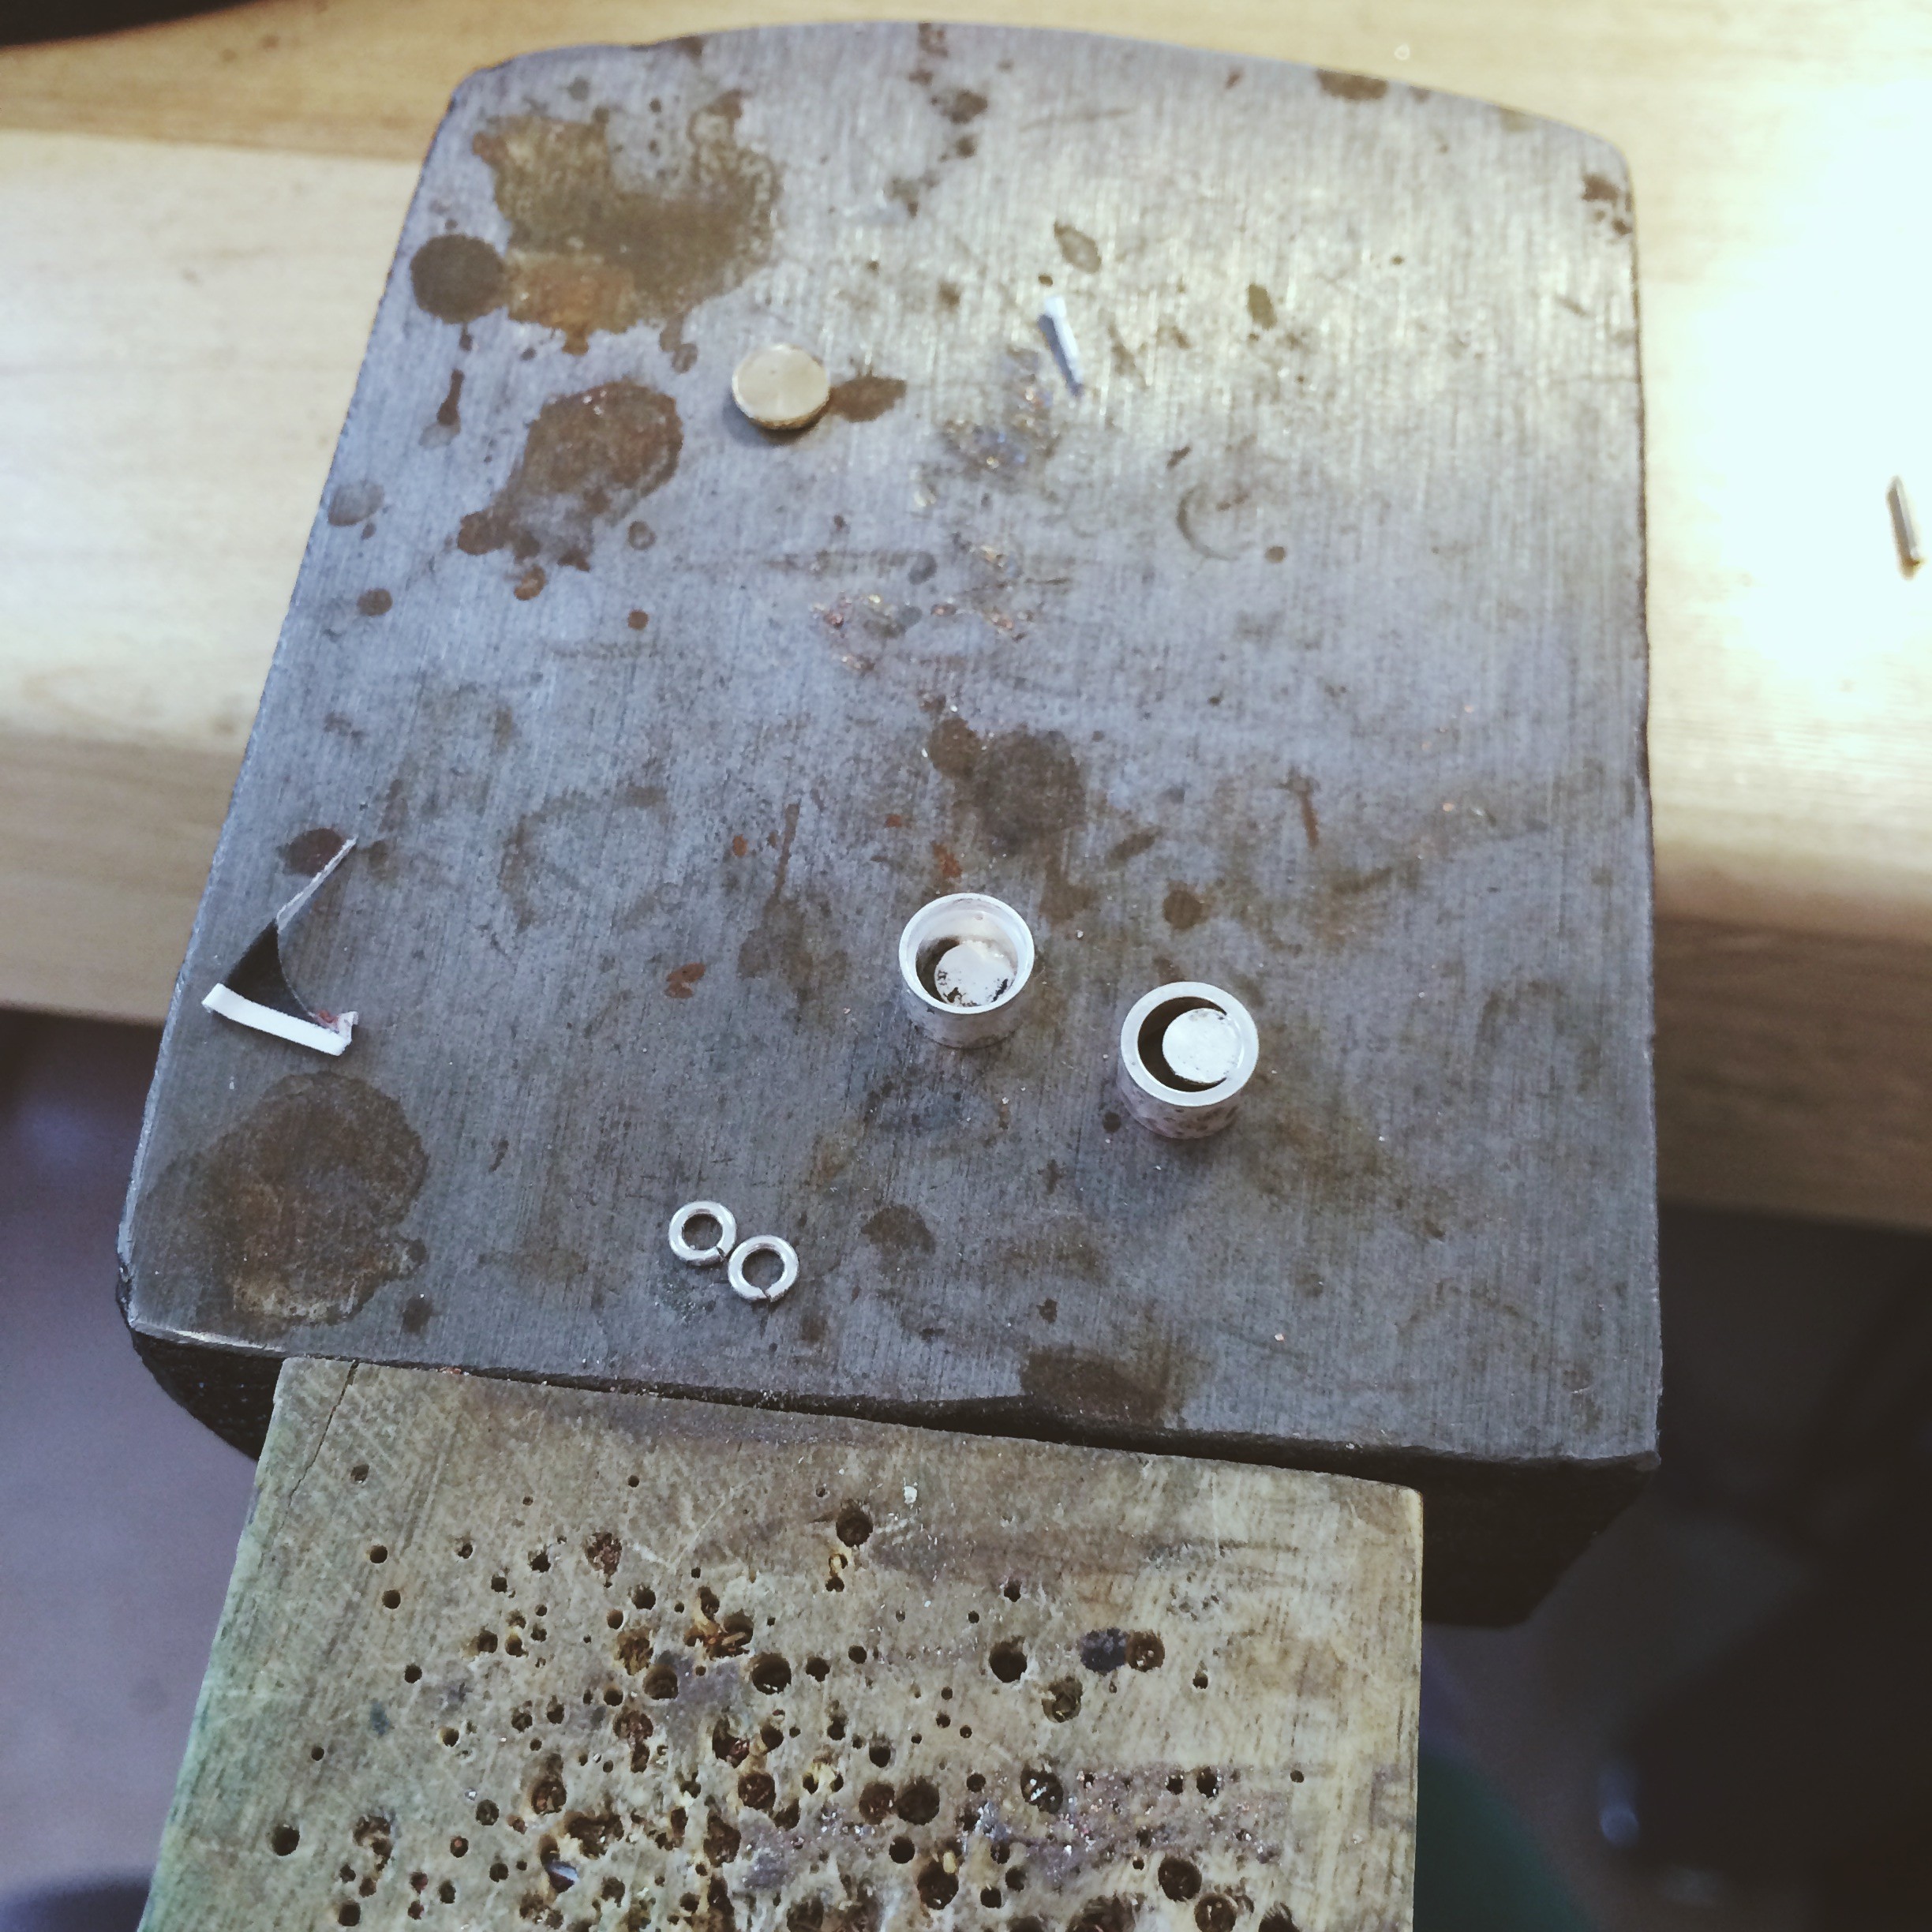
For this project I purchased some 5mm bezel settings and added my own little findings to them. I cut out some little pads and soldered them to the back of the bezel. I did this so I had a good space to solder the earring post. I then soldered some tiny jump rings to connect the hand pierced design to. Sounds a little involved right? It wasn’t that bad! There is some serious satisfaction in customizing something as simple as a bezel to accommodate the project you are working on. Some jewelry part suppliers have something like this ready made, and I’ll admit I looked for them to make my life a little easier. I couldn’t find them through my usual suppliers which was fine, because sometimes it’s good to challenge yourself to make it yourself.
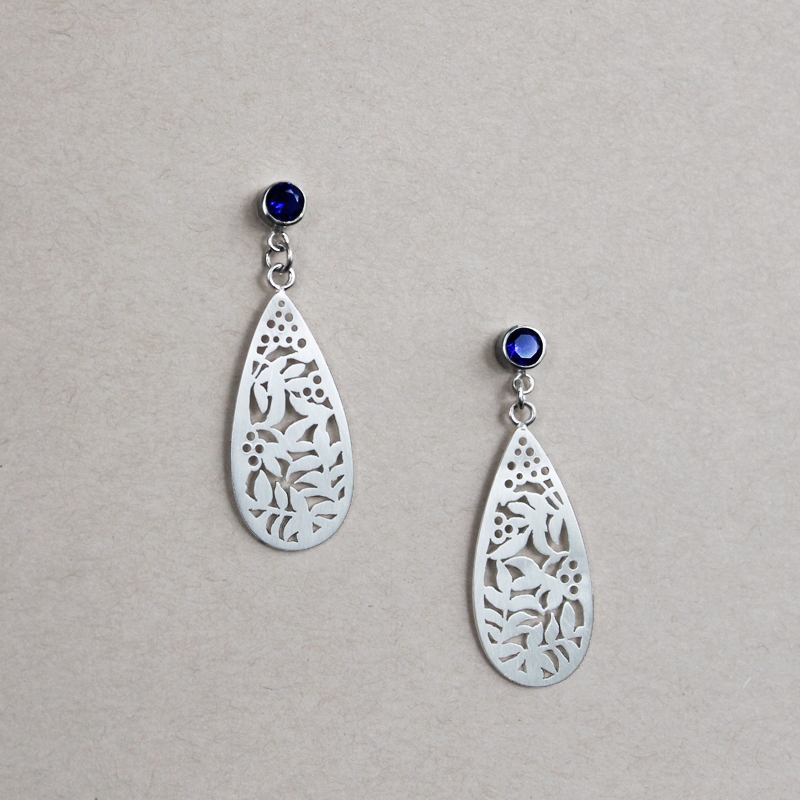
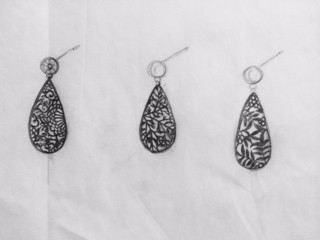
Here is the final result! I soldered some jump rings to the top of the pierced out design and then connected the bezel set sapphire earring posts with another jump ring. I gave these earrings a soft matte finish with some fine polishing papers and gave the edges a high polished finish so that when the earrings move, you get a little sparkle.
If you are interested in a custom piece of jewelry, don’t be shy! Feel free to e-mail me at: info@ivyandgoldhandcraft.com The holidays are coming and custom jewelry is a great and thoughtful gift!